Kitchen Island Ideas That Actually Work in a Real Kitchen
September 22, 2026 · 9 min read · AC Remodeling
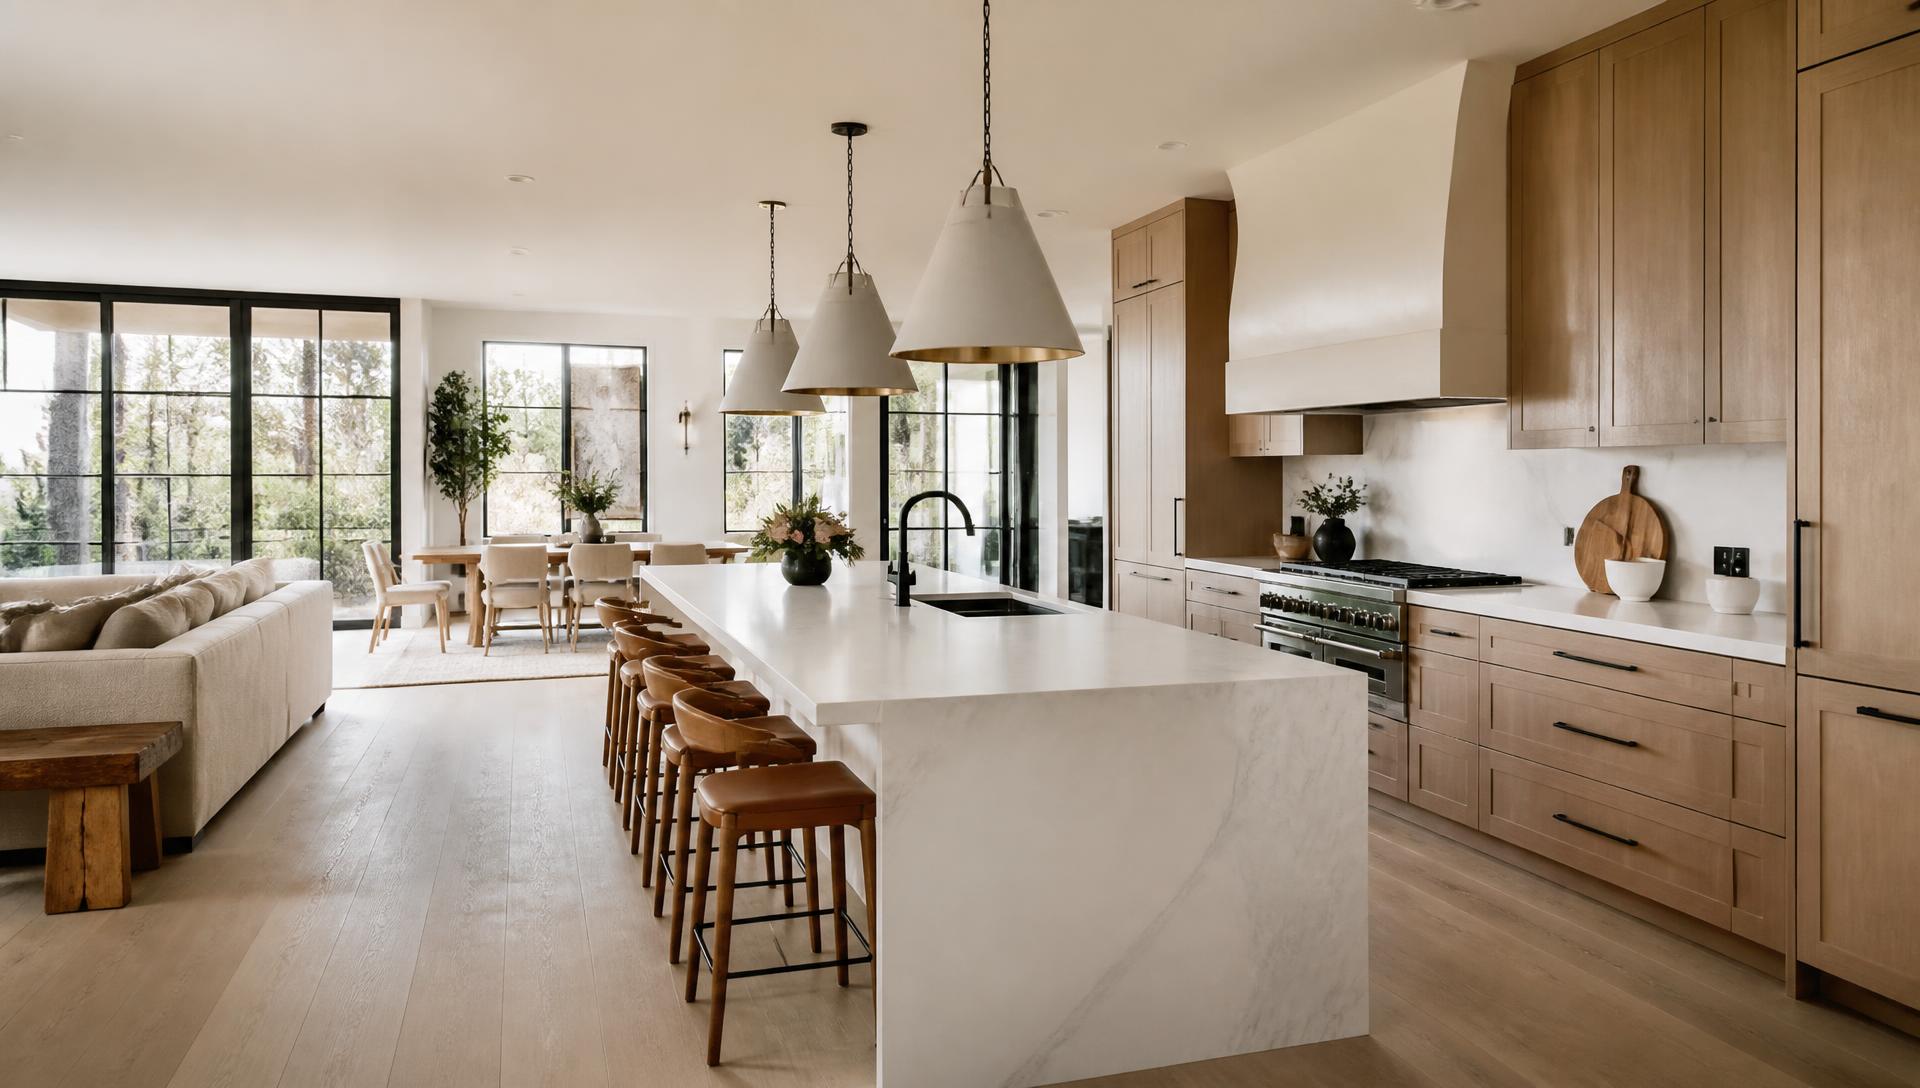
Most kitchen island ideas are photographs: a waterfall edge, a contrasting cabinet color, three pendants in a row. Those details matter, but they are not what makes an island work, and they are not what homeowners end up regretting.
What people regret is an island they have to turn sideways to get around. An island without enough overhang for anyone to sit comfortably because there is no room for their knees. A dishwasher door that blocks the only path through the room. A sink positioned where the drain line was never going to run cleanly.
Every one of those problems is set by dimensions and decisions made long before anyone chooses a countertop. So let us start there.
Start with the space around the island
The island itself is the easy decision. What actually makes or breaks the layout is the clearance around it.
The National Kitchen and Bath Association calls for a minimum 42-inch work aisle for a single cook, and 48 inches once you are designing for two people moving through the space at once. A walkway where no work happens, only foot traffic, can drop to a minimum of 36 inches.
The 42-inch figure is the one to protect. An open dishwasher door takes up a large share of a 36-inch aisle on its own. Base cabinet drawers, an open oven, and a refrigerator door all need room to swing while someone is still standing in front of them.
The islands that fail are not badly designed. They are beautifully designed for a kitchen that is three or four inches too small to hold them. When the spacing does not work, the honest answer is a smaller island, a peninsula, or no island at all.
Decide what the island is for
Islands get asked to do too much. Before choosing a size, decide which one or two jobs matter most, because each job brings its own requirements.
A prep island needs long, uninterrupted counter space and belongs close to the sink and refrigerator.
A seating island requires an overhang of minimum 10 inches, and up to 15 inches, for the knees, plus room behind the stools.
A cleanup island holds the sink and dishwasher, which brings plumbing into the middle of the floor.
A cooking island holds the cooktop, which brings ventilation requirements along with either a gas line or a heavy electrical circuit.
A storage island is often the most useful and the least photographed: deep drawers, trash and recycling pull-outs, and a home for the small appliances that would otherwise crowd the counters.
An island that tries to be prep, seating, cleanup, and cooking all at once usually does each of them poorly.
Seating people will actually use
Island seating fails for one of two reasons: not enough room for knees, or not enough room for the people walking behind the stools.
For knees, NKBA guidelines call for at least 15 inches of clear space at a standard 36-inch counter height and 12 inches at a 42-inch bar height. Each seat needs about 24 inches of width. Treat those numbers as a floor, not a target. Adults sitting with their elbows on the counter are more comfortable with extra room, so it is often worth planning for one fewer stool than the math allows.
Behind the seating, the guidelines recommend 36 inches if people only need to edge past someone seated, and 44 inches if they need to walk past. If the kitchen main path runs behind the island seating, design to the larger number, not the smaller one.
A deeper overhang built for comfortable seating also has to be supported. That support often means steel brackets designed into the cabinetry from the beginning, not something improvised at the last minute.
Should the sink go in the island?
A sink in the island lets you face the room while you work, and it pairs naturally with a dishwasher and a trash pull-out as a complete cleanup station.
It also puts the messiest activity in the kitchen in its most visible spot, and it brings real plumbing requirements. A standard sink vents straight up through a wall, but an island sink has no wall to use, so the drain has to be vented another way, typically a loop vent built into the cabinetry or an air admittance valve, and not every jurisdiction allows both.
How easily that gets solved depends on what sits beneath the kitchen. Over an accessible basement, running the drain is usually straightforward. Over a concrete slab, it can mean cutting into the slab itself. In Montgomery County, all of it goes through a WSSC plumbing permit and inspection, which our guide to Montgomery County remodeling permits explains in detail.
If an island sink is what you want, find out what is under the floor before falling in love with the layout.
AC Remodeling · Design Build
Schedule a Design Consultation
Every project starts with a conversation, not a sales pitch. We'll respond within one business day to discuss your vision.
Should the cooktop go in the island?
A cooktop in the island lets the cook face the room instead of a wall, which is a real advantage in an open floor plan.
The trade-off is ventilation, and it is the part of an island cooktop worth deciding first. Downdraft systems, whether they sit in the middle of the cooktop or rise behind it, pull across or below the rising plume of steam and grease and consistently underperform in practice, especially with tall pots and rear burners. A hood mounted above the cooktop and ducted up through the ceiling works with the way heat and moisture actually move, and it is the only approach we recommend for an island cooktop. That means the duct route, the ceiling framing, and the look of a hood suspended in the middle of the room all have to be settled while the kitchen is still on paper.
Seating next to a cooktop needs thought too. Stools a few inches from a hot pan are uncomfortable at best, so keep seating away from the cooking zone or give it generous separation.
Outlets on the island
Electrical code has changed how islands are handled, and it surprises people who remember older kitchens. Under the 2023 edition of the National Electrical Code, an island is no longer required to have an outlet, but if one is not installed, provisions have to be made so one can be added later.
If outlets are installed, they can no longer go on the side of the cabinet below the countertop, which is exactly where many older islands have them. They must be installed on or above the countertop. The reasoning is practical: from a below-counter outlet, a slow cooker or blender cord dangles over the edge in a loop that is easy to trip on or for a small child to pull, bringing a heavy or hot appliance down with it.
Which rules apply depends on the code edition the county enforces when your permit is issued.
Size the island from the room inward
Size the island from the aisles inward, not from a photograph outward. It starts with the room actual dimensions, protects the aisle widths a household needs to live in comfortably, and lets the island take shape from what is left, not the other way around.
Depth deserves the same discipline. An island that is too deep is hard to reach across and hard to clean in the middle.
Shape can solve what size cannot. A narrower island with seating at the end, an L-shaped peninsula, or two smaller islands can fit where one large island would crowd the room.
When not to add an island
Sometimes the best island idea is not having one.
If the aisles cannot reach 42 inches on the working sides, a peninsula usually serves better. In a long galley kitchen, an island can block the only path through. If what you need most is storage, a wall of well-planned cabinetry may give you more than an island ever could.
And if the real goal is opening the kitchen to the next room, the island is the second decision, not the first. Where the wall comes out decides how much room the island has.
What to settle before anything is ordered
Before cabinets are ordered, an island needs final answers on its size and aisle clearances, whether it holds a sink, a cooktop, or neither, how the seating overhang is supported, where the outlets go, and what lighting hangs above it. Change any of those after ordering, and it ripples into plumbing, electrical, cabinetry, and the countertop template. Our kitchen remodel timeline shows how far a late change can push a schedule.
Designing the island around the kitchen
AC Remodeling is a design-build firm in Gaithersburg working across Bethesda, Rockville, Potomac, Chevy Chase, Kensington, Olney, Silver Spring, and Northwest DC. We lay out islands from clearances and from the plumbing, electrical, and ventilation they need, then design the finishes around a plan that already works.
For finish and layout ideas once the plan is set, see our luxury kitchen remodeling guide and our white kitchen ideas.
Learn more about our kitchen remodeling work, see finished kitchens in our portfolio, or schedule a design consultation.
MHIC License #127743 | DCRA License #420220000070 | (240) 632-1660
Frequently asked questions
How much space do you need around a kitchen island?
The National Kitchen and Bath Association calls for a minimum 42-inch work aisle for a single cook and 48 inches when two people work in the kitchen at once. A walkway where no work happens can drop to a minimum of 36 inches. Protect the 42-inch figure on the working sides, because an open dishwasher or oven door takes up much of a narrower aisle on its own.
How much knee space does island seating need?
NKBA guidelines call for at least 15 inches of clear knee space at a standard 36-inch counter height and 12 inches at a 42-inch bar height, with about 24 inches of width per seat. Behind the stools, allow 36 inches if people only edge past someone seated and 44 inches if they need to walk past.
Does a kitchen island need an outlet?
Under the 2023 National Electrical Code an island is no longer required to have an outlet, but if none is installed, provisions must be made so one can be added later. When outlets are installed they can no longer sit on the side of the cabinet below the countertop; they must be on or above the countertop surface. Which edition applies depends on the code your county enforces when the permit is issued.